
Step-by-Step Tips to Maintain Sharp Edges on PNGs
- Visuals Clipping
- Feb 19
- 4 min read

In the world of digital design, an image needs to be crisp and clean. And be it running an online shop, designing social media graphics, or just making logos, jagged or blurry edges will immediately decrease the level of professionalism. Background removal is one sure method to ensure that your visuals look sharp. In case you are in a hurry there is also the option to outsource image background removal services to those who assure accuracy and quality.
Why Blurry Edges Are Killing Your Images (and How to Fix It Fast!)
Have you ever seen a product photo that appears to be off? Frequently, it is the scruffy edges of your PNGs. Jagged or blurred edges can:
Make your brand seem undress and careless.
Take away attention to the product or message.
Lessen the efficacy of your posts and advertisements on social media.
Indicatively, even a crisp product image on a white background will seem professional and trustworthy. Compare it to a product that has jagged edges or background artifacts left over- it can immediately decrease the confidence of the customers. It is important to remember that sharp edges attract attention and provide credibility, whether in your online store or on your social feed.
The Only Tools You Need to Keep PNGs Razor-Sharp
Sharp edges are not difficult to maintain when you have the right tools. Here’s what works best:
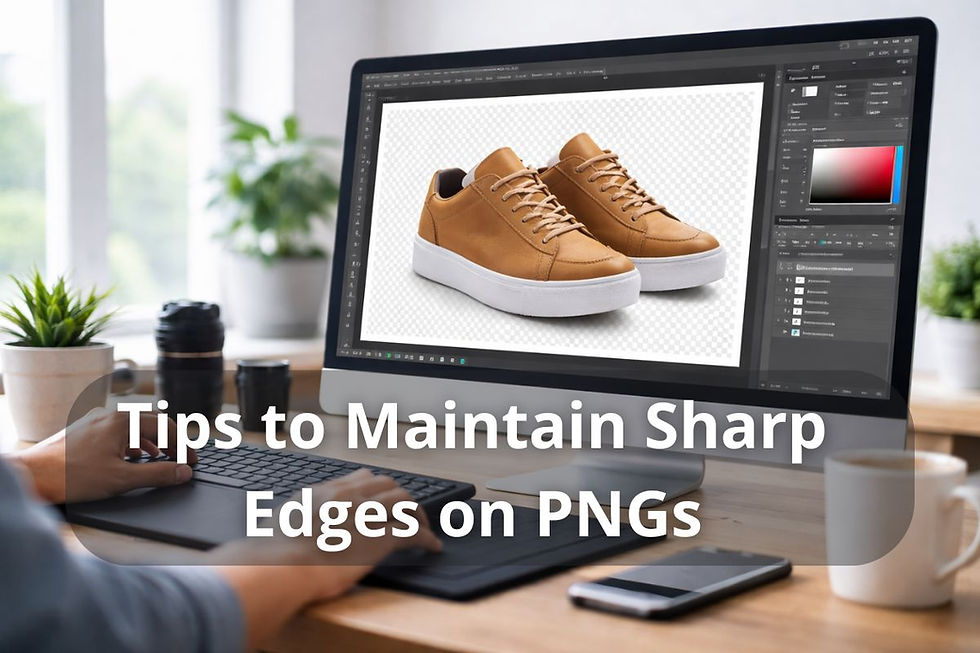
Professional software: Photoshop, Gimp, and Affinity photo are tremendous to use in background removal and sharpening of edges.
Online options: Canva, Photopea, and Remove.bg are free and can be used by non-designers to save time and achieve a rather good result.
To select a tool, you should take into account your level of skills: novice users can start with AI-based online editors, whereas experts can take advantage of the possibility to control a highly-developed desktop program.
Selection Secrets: Cut Out Objects Like a Pro
The principle of clean edges is proper selection. Photoshop has tools such as the Pen Tool, Magic Wand, or Lasso Tool that enable one to completely control the outline of the objects. To avoid jagged edges:
Work and Zoom in slowly along curves and complex places.
Make deletions non-destructive by using layer masks rather than deleting pixels.
Alter selection edges through feathering or edge refining to soften edges.
Pro tip: multiple selection tools usually have the best final outcome particularly when dealing with products with intricate shapes.
Edge Refinement Tricks That Make Your PNGs Pop
After choosing your object, it is important to make edges look refined so as to have a professional appearance:
Smoothing and anti-aliasing should be used to avoid severe pixelated lines.
Feathering is very fine to use in a soft transition in hair or fur and other intricate designs.
Balance between sharpness at the edges and realistic look will prevent excessive processing.
For tricky areas, it is best to consider taking the background bit by bit instead of at once. This makes all the curves precise and appealing to the eyes.
Read more- Deep Etching Vs Background Removal
Stop These Mistakes That Ruin PNG Clarity Every Time
Even experienced designers fall into common traps:
Enhancing images that are either too small or too large that may distort edges.
Selling low-DPI or overcompressed PNGs.
Editing the same layer many times, which may cause blurs.
Before finalizing, always look at your PNG at 100 percent of the zoom. Even small errors made during this process will destroy a good picture.
Export Like a Pro: Settings That Keep Every Pixel Perfect
Exporting your edits properly is only shiny:
Keep 300 DPI, which is print, or 72 DPI, which is web.
Maintain transparency save as PNG-24 not PNG-8.
Ensure that bit depth and resolution are what you want.
The last checklist will be very basic: zoom in, make sure there is no jaggedness along the edges, and check whether there are any transparent background spaces that are not clean.
Bonus Hacks: Tips for Ultra-Crisp PNGs
Make your PNGs good to stunning with these professional tips:
Sharpening aids are aided and enhanced by AI or Photoshop extensions.
Multilayer overprint to clean messy outlines.
In case of difficult edits, it is better to engage an outsourced company like Visuals Clipping that provides the services of removing background images in a short time. Some of them go to a point of giving a free trial, so that you can trial the quality at no cost.
Wrap-Up: Sharp PNGs = Sharper Impact for Your Brand
Sharp PNGs do not only serve as a visual indulgence but also have a direct effect on interaction, credibility, and perceptions of the brand. Using these points, you can make sure that every photo has a smooth and professional appearance: using the right tools, making accurate choices, polishing sides, and exporting the correct image.
These techniques can be tried by you the next time when you are working on product photos or graphics. Or, when time is limited, hire a background removal service provider to achieve the perfect results within a short time. Your images will really become your own with clear transparent backgrounds and sharp edges.


Comments